Jacob and I have been quite crafty recently, and decided to try something neither of us have ever done: Make a mold and then fill it using oven-bake clay. We still need to practice, but here's how it went for us:

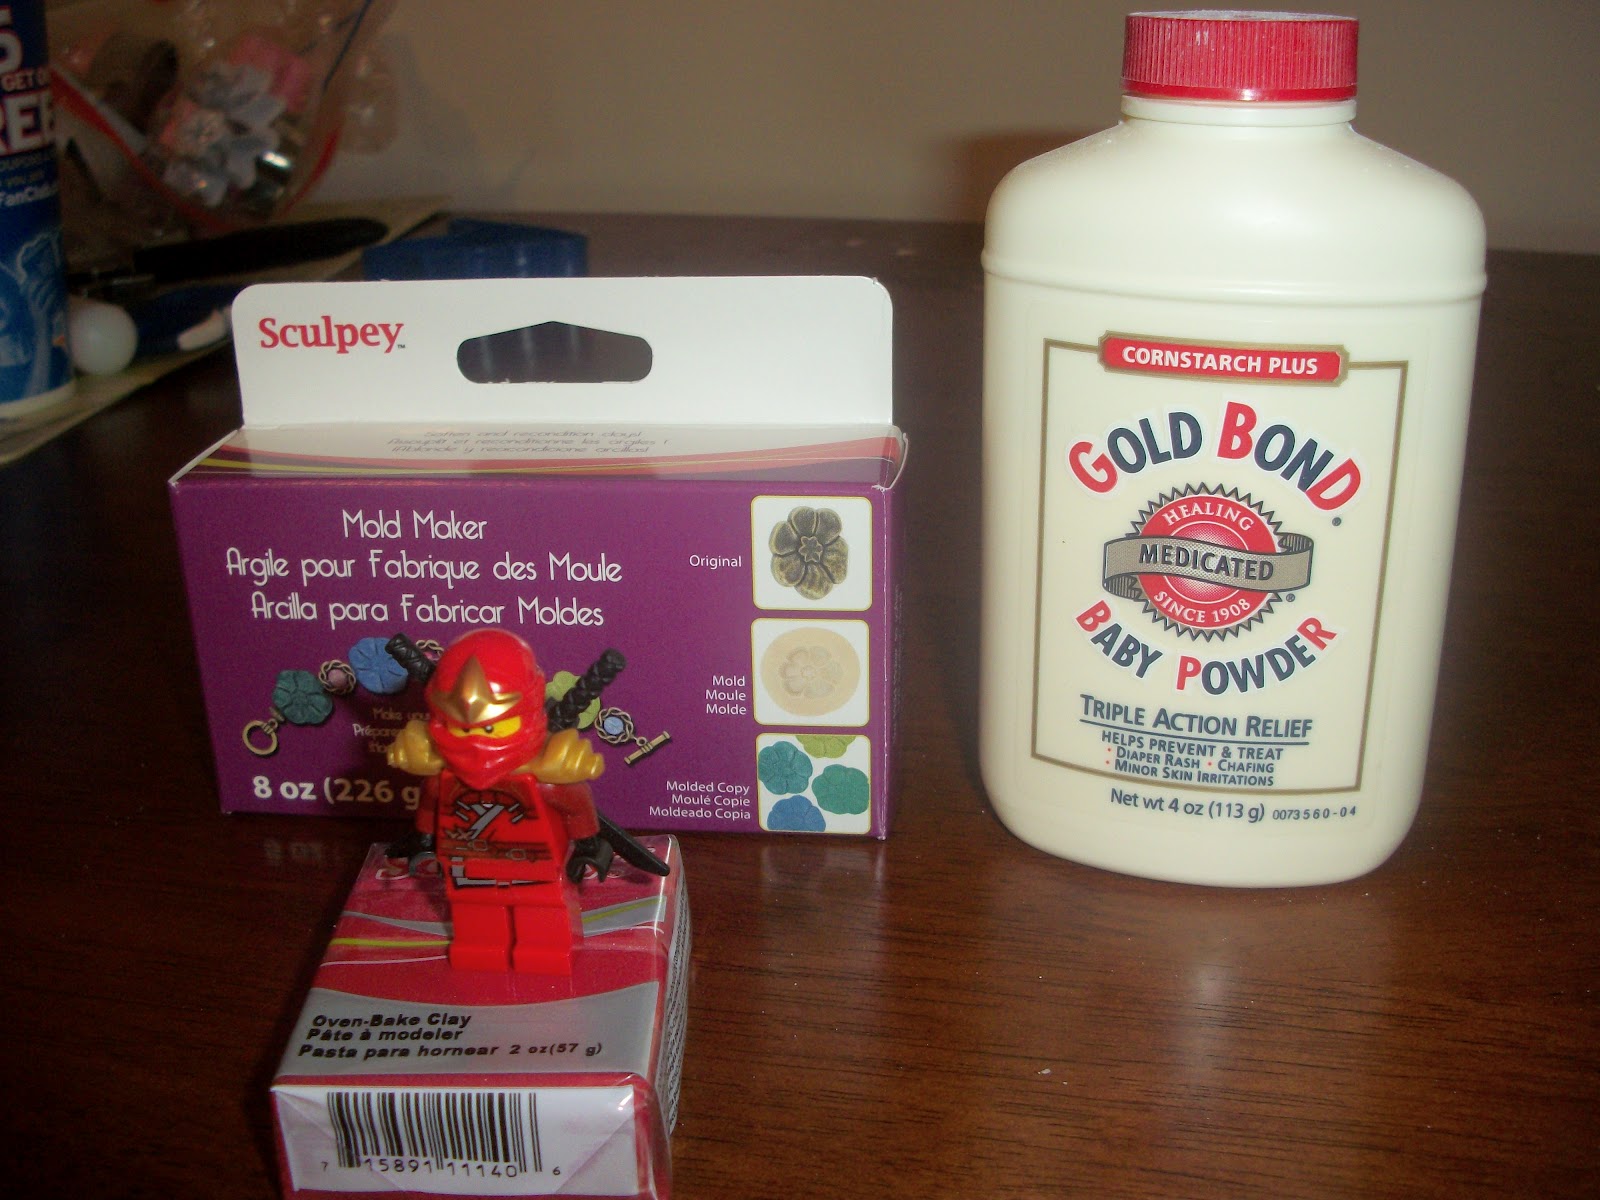
Our Materials: Sculpey Mold Maker, baby powder (or corn starch), Ninjago guy, Sculpey clay
Knead the mold maker a bit, and form into a shape a bit bigger/thicker than the model. Dip him into some baby powder, then press him into the mold maker. Carefully remove him. We did the front and back in separate molds.
The front and back of this guy.
Another Ninjago!
His mold.
Bake them at 275 for 20 minutes per 1/4 inch thickness. 20 minutes seemed to work perfectly for ours.
When they're cooled, you're left with a flexible yet permanent reuseable mold. It's very cool.
We probably should've started with something with less small pieces. But - you fill the mold with clay, then carefully release them. Dust the mold with powder to help this process.
Then, back into the oven following clay's instructions - -ours said 15 minutes at 275. And that worked well. Sooo - not perfect, but very fun day-off-together activity!